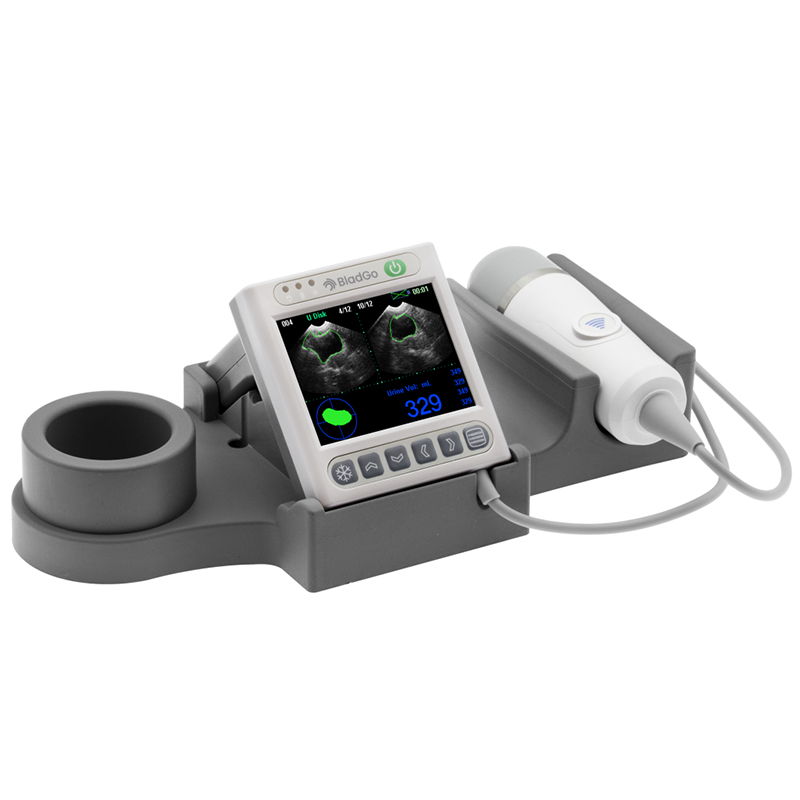
A portable bladder scanner is a two-part medical equipment consisting of a transducer or probe and an LCD screen. Some models have optional or inbuilt trolleys or table-top holding trays for ease of use in different healthcare environments.
When you perform a bladder scan, the probe sends ultrasound waves from the bladder to the scanner computer. The computer interprets the waves and sends them back to the monitor as 3D images of the bladder and urine volume.
To achieve this, the clinician should follow this step-by-step procedure:
1.Ensure a sterile bladder scanning environment by wearing gloves and cleaning the probe head.
2.Ask the patient to lie down in a supine position (with face and chest facing up).
3.Apply an ultrasound gel on the suprapubic area and pass the probe while pointing directly to the bladder.
Depending on the Bladder scanner model, you may need to press a scan button and select the patient type.
4.Observe the 3D bladder images and urine volume score on the LCD screen and interpret the results to decide pro or con catheterization.
As a rule of thumb, bladder volumes ≥500mL point to urine retention and should be addressed with immediate voiding by catheterization. If not done, risky bladder distention can occur.
The bladder scanning procedure may vary slightly depending on the model of the bladder scanner machine.
You can watch the complete video of how to use a portable bladder scanner for our recommended BladGo model
here.
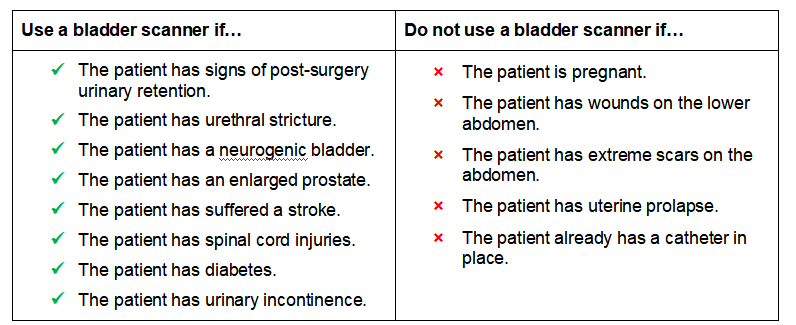
Also, apart from knowing how to use a bladder scanner, healthcare providers should know when to use the ultrasound scanner.